



Crochet Donkey Basket – Easy Step-by-Step Tutorial for Beginners
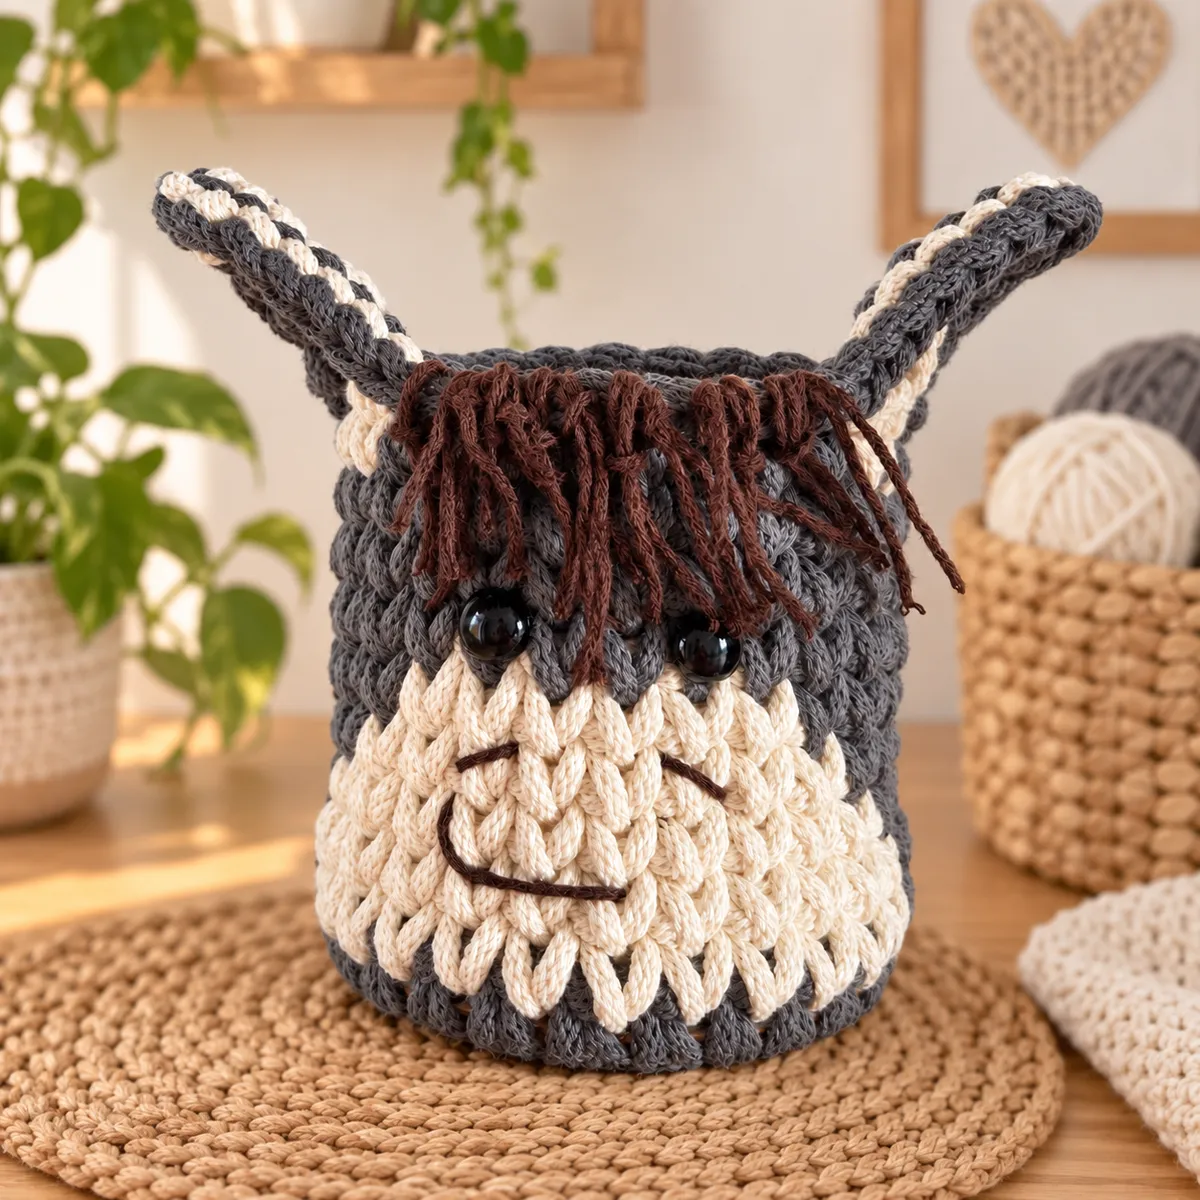
Learn how to crochet a cute donkey basket using 5 mm BIGcord and a 12 cm wooden base. This detailed beginner-friendly tutorial combines a full video with a written step-by-step pattern, including clean colour changes, an invisible join and mirrored crocheted ears.
This crochet donkey basket is a small, playful storage basket made with 5 mm BIGcord recycled cotton cord. The project is suitable for beginners, and the video shows all the details that are easier to understand visually.
Turn on the subtitles in the YouTube player and choose the language you need.
Watch the full video tutorial
What you will need
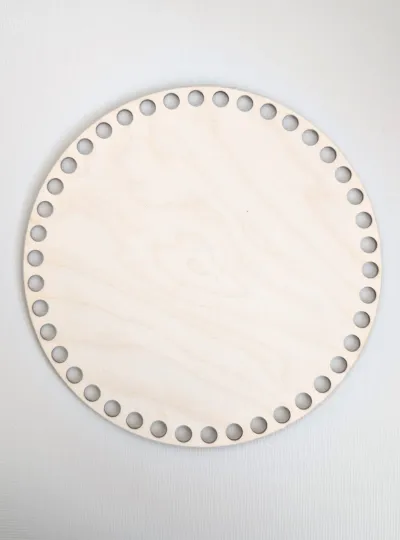
12 cm wooden base
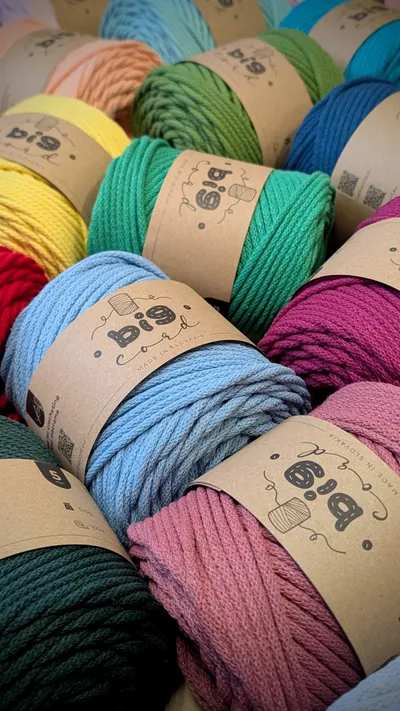
approx. 50 m of 5 mm BIGcord in gray – about half a ball
approx. 25 m of 5 mm BIGcord in white for the muzzle and ears
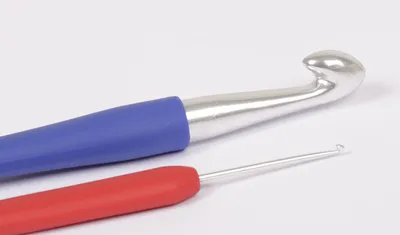
6 mm crochet hook
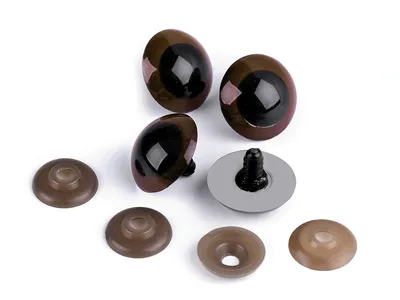
safety eyes
a large-eye needle or crochet hook for weaving in the ends
This tutorial is also designed for our DIY Donkey Basket Set, which contains the materials you need to make the basket. The DIY sets will also be available at our stand at Abilmente Vicenza 2026.
Abbreviations
SC – single crochet
Sl St – slip stitch
CH – chain
HDC – half double crochet
DC – double crochet
Step 1 – Prepare the wooden base
Start by working slip stitches around the wooden base to cover the holes.
Finish the round by pulling the starting tail through the loop, creating what looks like one more slip stitch.
Step 2 – Crochet the first round around the base
Start crocheting around the base with single crochet stitches.
Work 1 SC into each hole, but in every 4th hole work 2 SC into the same hole. This helps prevent the basket from narrowing as you crochet upwards and keeps the sides straight.
Work 2 SC into the last hole as well.
Finish the round as shown in the video to create an invisible join.
Step 3 – Continue the basket sides
Continue with the second round. From now on, work 1 SC into each stitch.
Step 4 – Change colour for the donkey muzzle
When changing colours in a single crochet, work the first part of the stitch with the first colour, then pull the final loop through with the second colour. This creates a clean, smooth colour transition.
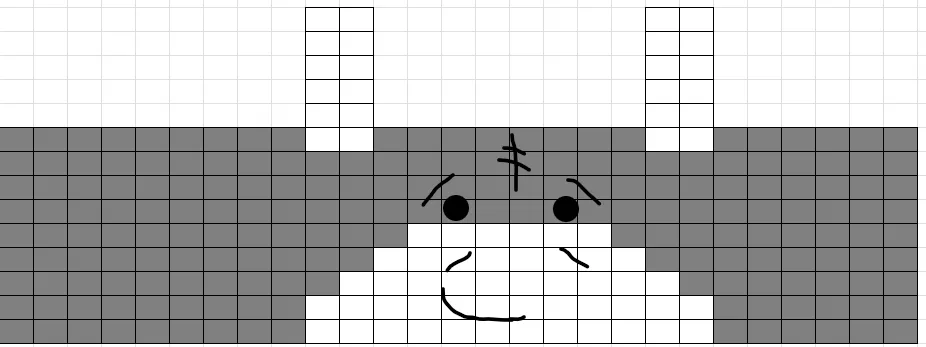
Step 5 – Crochet the donkey face colour pattern
Round 1: work the entire round in gray. Finish with an invisible join.
Round 2: 9 SC in gray, 12 SC in white, 6 SC in gray. Finish with an invisible join.
Round 3: 10 SC in gray, 10 SC in white, 7 SC in gray. Finish with an invisible join.
Round 4: 11 SC in gray, 8 SC in white, 8 SC in gray. Finish with an invisible join.
Round 5: 12 SC in gray, 6 SC in white, 9 SC in gray. Finish with an invisible join.
Rounds 6–8: work the next 3 rounds entirely in gray.
Step 6 – Start the ears
In the next round, begin shaping the ears:
9 SC in gray, 2 SC in white, 8 SC in gray, 2 SC in white, 6 SC in gray, then finish with an invisible join.
Step 7 – Final round and first ear
The final round is worked entirely in slip stitches, and the ears are crocheted as you go.
For the first ear, using white: chain 7, then work back along the chain: Sl St into the first chain from the hook, 1 SC, 1 HDC, 1 DC, 1 HDC, then make a slip stitch into the white stitch from the previous round.
Pick up the gray yarn again and crochet around the white ear with slip stitches through the back loop only, as shown in the video.
Continue working slip stitches until you reach the second ear, then switch back to white.
Step 8 – Crochet the second ear as a mirror image
The second ear needs to be worked as a mirror image, so it is best to follow the video for this part.
Start by making 6 chain stitches from the second white stitch of the previous round. Remove the hook, then go back to the first white stitch of the previous round.
Make a loop, chain 1, then work into the first stitch of the 6-chain: 1 HDC, 1 DC, 1 HDC, 1 SC, 1 SC, 1 Sl St.
Switch back to gray and crochet around the ear with slip stitches. Continue working slip stitches in gray until the end of the round.
Step 9 – Weave in the ends
Use a crochet hook or a large-eye needle to weave in the ends. Make sure to hide both ends neatly inside the stitches.
Step 10 – Finish the donkey face
Add the donkey’s safety eyes, then embroider the face. If you like, add a little forelock.
You can follow the video exactly or use your own imagination for the final expression – and your donkey basket is finished!
Your crochet donkey basket is ready
Use it for small toys, craft supplies, children’s room storage or simply as a cute handmade decoration.
If you make your own version, share it on Instagram and tag @bigcord_bigideas – we’d love to see what you create.